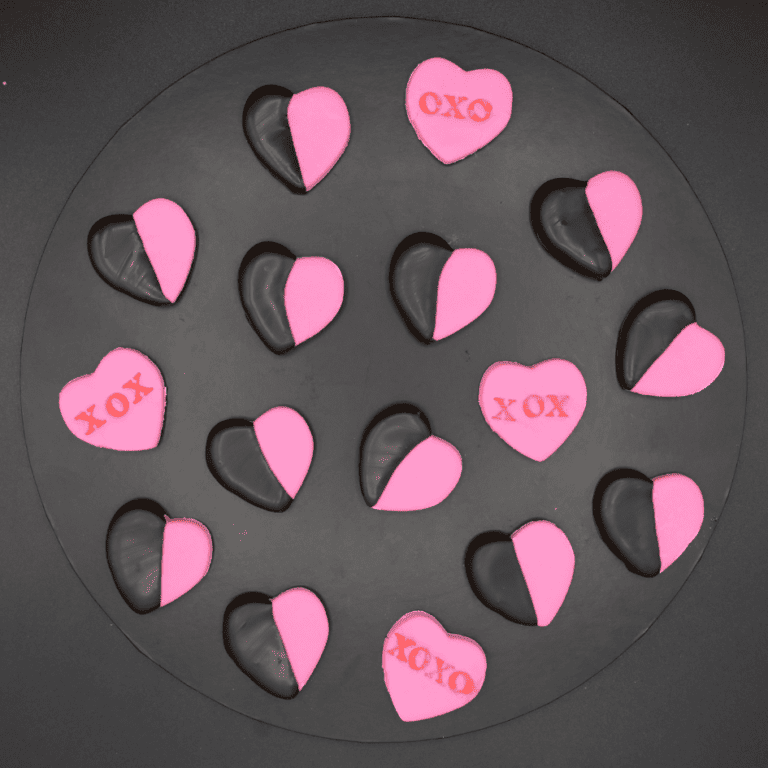
Think of a traditional peppermint cream, but in any flavour you like! We are making Strawberries and Cream flavour but these are great in Coffee, Orange Zest, Raspberry Ripple, or Black cherry! Go wild and make any flavour Chocolate Covered Creams you fancy!
We are using some Whipping It Up Shot instead of egg white, and combining this with our delicious Natural Flavoured Icing Sugar! I have Chosen this method, as this is a no bake recipe. The egg white in Whipping It Up is pasteurised and requires no cooking! We are also dipping our creams in dark flavour Melt & Pour.
Ingredients
- 14g Whipping It Up Shot
- 30ml tepid water
- 325g Natural Flavoured Icing sugar
- Extra icing sugar for dusting your surface
- 100g Melt & Pour of your choice
Method
- In a large bowl, whisk the Whipping It Up Shot with the water until frothy.
- Sift in the icing sugar, and mix using a firm spatula. Soon you will begin kneading with your hands until a dough is formed. If your dough seems too dry you can add a couple of drops of water, and continue to knead.
- Dust your worktop heavily with icing sugar and roll out your dough to roughly 5-6mm thickness. Use a cutter to cut your dough and place onto baking sheet (dusted with more icing sugar).
- Place the creams into the freezer for roughly half an hour (or leave to dry out for roughy 6-8hrs).
- Melt your Melt & Pour with short bursts in the microwave, making sure to stir thoroughly between each increment of heat.
- Take your creams from the freezer and dip in the Melt & Pour.
- Place onto a piece of greaseproof paper to set.
- Enjoy your Chocolate Covered Creams!
Yo do not need to cover your creams in chocolate, they are delicious uncoated. Just leave to dry out for 6-8 hours.